
Your trade show set up is the make-or-break moment for your entire event budget. It’s what turns an empty patch of carpet into an experience that grabs people’s attention. This isn’t just about putting up some walls and a table; it’s a careful mix of design, logistics, and presentation that determines whether you attract attendees, get good leads, or just waste a ton of money.
Why Your Booth Setup Is Everything at a Trade Show
Let’s be honest, the days of getting by with a simple pipe-and-drape backdrop are long gone. Today’s trade show floors are a sensory overload. Attendees are walking through a sea of exhibitors, and if your booth looks generic or uninspired, you become invisible. All that money you spent on floor space, travel, and staff goes right down the drain.
Thinking strategically about your setup is a critical marketing decision. It’s your first handshake, communicating your brand’s value before you even say a word. Your booth is a physical advertisement that has to stop busy people in their tracks and pull them in for a conversation.
Trade Show Set Up is About Creating an Environment, Not Just a Booth
The exhibitors who really get it know their booth isn’t just a space—it’s an environment. The goal is to create a cohesive experience that tells a story. This is where modern tech, especially our seamless LED video walls, has completely changed the game.
Instead of old-school static graphics, you can have:
- Dynamic product demos that actually show how your complex features work.
- Real customer testimonials that build instant trust.
- Eye-catching brand animations that pull visitors in from across the aisle.
In a packed convention hall, a bright, moving display is always going to beat a printed banner. It’s not even a fair fight.
Making a Statement with High-Impact Visuals
The quality of your visuals says a lot about your brand. This is where the technical details give you a real edge. A lot of our competitors are still using standard video walls with a 2.5mm pixel pitch. Our displays, however, feature a much higher-resolution 1.9mm pitch. It might sound like a small difference, but the result is a dramatically sharper and more professional image that looks crisp even when someone is standing right in front of it.
Think of it as the difference between standard-def and high-def TV.
A higher-resolution display is a direct investment in how people perceive your brand’s quality. A blurry or pixelated video wall makes you look cheap, while a sharp, seamless image screams professionalism and attention to detail.
We carry that commitment to quality all the way to our pricing. We believe in being upfront, which is why we include everything in our price except the bills the show bills you for directly, like electricity and material handling. This straightforward approach means you can budget with confidence and not worry about the hidden fees that are so common with traditional booth builders.
The numbers don’t lie. The global exhibition industry is expected to hit $67.4 billion by 2033, with almost 5 million exhibitors fighting for the attention of 318 million attendees worldwide. In a market that massive, just showing up isn’t enough. You have to stand out.
This guide will walk you through turning your trade show setup from a logistical headache into your most powerful sales tool. You can discover more about the scale of the global exhibition market and what it means for exhibitors to understand just how crucial this is.
Your Pre-Show Planning Timeline for a Seamless Trade Show Set Up
A great trade show setup doesn’t just happen. It’s the result of solid planning that starts months before you ever step onto the show floor. Trust me, a good timeline is your best friend to avoid that last-minute panic and make sure every detail gets handled right.
The trick is to break the whole process down into smaller, manageable chunks. When you start early, you make smarter choices, dodge those painful rush fees, and can actually focus on the creative stuff that will make your booth the one everyone talks about.
90-Day Pre-Show Setup Checklist
Pulling off a killer trade show presence is a marathon, not a sprint. Naturally, to keep things from getting overwhelming, we break down the three months leading up to the show into a clear, actionable plan. This timeline covers everything from big-picture strategy to making sure your booth actually gets to the venue on time. Think of it as your roadmap to a stress-free trade show set up.
| Timeframe | Key Task | Pro Tip for LED Booths |
|---|---|---|
| 90 Days Out | Set Goals & Budget | Decide what success looks like (leads, sales, etc.). Lock in your total budget, and I mean everything—floor space, shipping, power, and drayage. |
| 60 Days Out | Finalize Booth & Content | This is when your booth design gets locked in. Start creating the video content that will play on your LED walls. Don’t leave this to the last minute! |
| 30 Days Out | Handle Logistics | Book travel and hotels for your team. Finalize the booth staff schedule. Most importantly, arrange shipping to the advance warehouse. |
By tackling these key items in phases, you’re not just preparing; you’re setting yourself up for a much smoother, more successful show from start to finish.
90 Days Out: The Big Picture Strategy for Optimal Trade Show Set up
Three months out is when you lay the groundwork. This is where you figure out the “why” for your show. Without clear goals, your trade show set up is just an expensive gamble.
First, define what a win looks like. Are you trying to get a specific number of qualified leads? Launching something new? Just trying to make a splash in a new market? Your answers here will shape every other decision you make.
Next, you have to lock down your budget. A real budget, not just a guess. You need to account for the booth space, the booth itself, shipping, drayage (that’s the fee for moving your stuff from the dock to your booth), electricity, internet, and all your team’s travel costs. Getting this right now saves a lot of headaches later.
A huge budget-killer can be drayage fees. These are often one of the biggest and most unpredictable costs. Heavier, old-school booths get slammed with massive drayage bills. Choosing a lightweight, modern booth system from the start is one of the smartest money-saving moves you can make.
60 Days Out: Design, Content, and Standing Out
Okay, with your strategy and budget sorted, it’s time for the fun part. At the 60-day mark, you need to finalize your booth layout and start working on the content that will bring your LED video walls to life.
For an LED booth, your content is everything. This is your chance to create something that literally stops people in their tracks. What story do you want to tell? Are you going to show off flashy product demos, customer success stories, or just some bold, eye-catching animations?
This is also where the tech details really matter. We build our video walls with a 1.9mm pixel pitch. Many competitors mostly have a 2.5mm pitch, which is a lower resolution. That higher resolution from our 1.9mm pitch means your videos have a superior sharpness that looks crisp and professional, even when people are standing right in your booth. It screams quality.
To see how far things have come, just look at how booths have evolved over the years. We’ve gone from drapes and banners to the kind of immersive digital experiences you can create today.
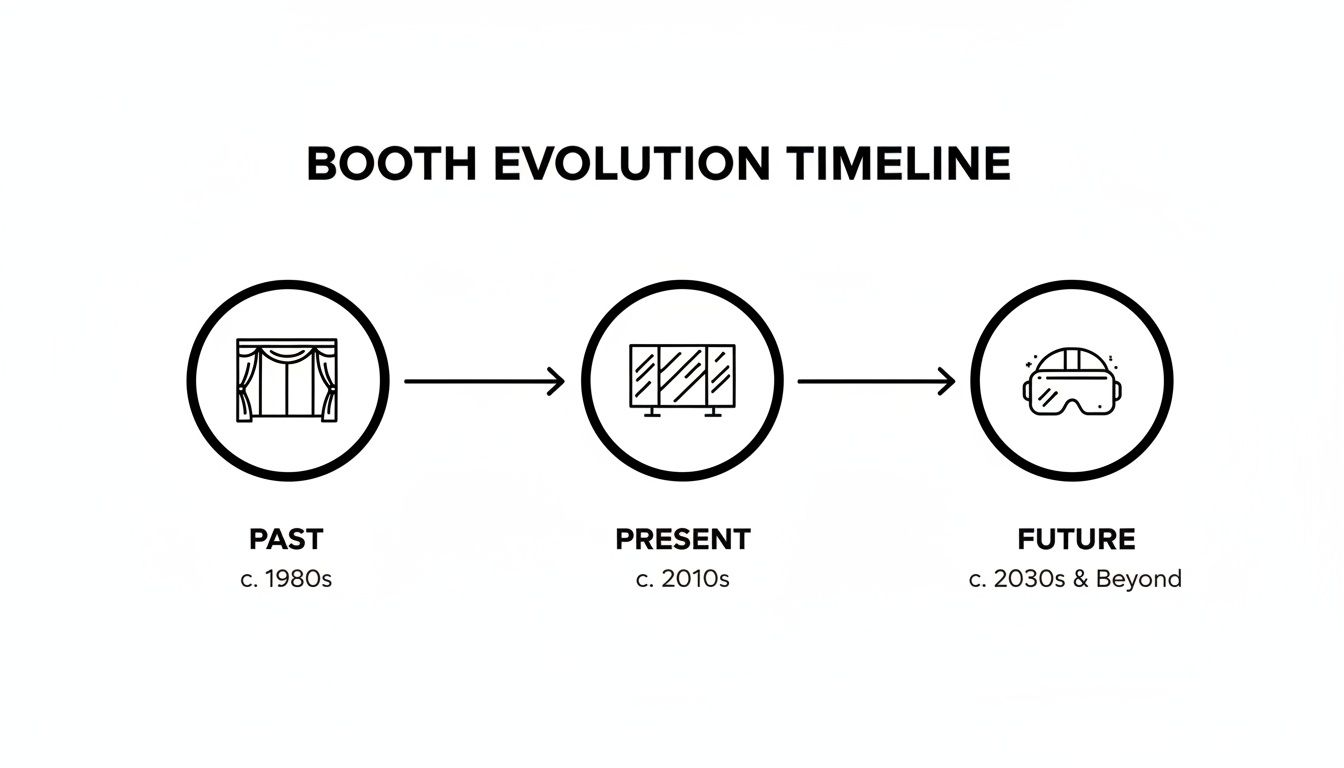
The trend is obvious: displays are getting more dynamic and tech-heavy, which is why a killer LED wall is no longer a luxury—it’s a necessity to compete.
30 Days Out: Logistics and Final Details of Your Trade Show Set Up
The last month is all about getting the details locked and your logistics buttoned up. Your booth design is done, your video content is ready, and your team is picked. Now, it’s all about getting everything—and everyone—to the show on time.
Here’s what you should be focused on in the final stretch:
- Book Travel & Hotels: Get flights and rooms for your team booked now to avoid jacked-up prices and limited options.
- Finalize Staff Schedule: Map out who is working the booth and when. Don’t forget to schedule breaks.
- Arrange Shipping: Talk to your shipping partner and get your booth crates to the advance warehouse. It’s almost always cheaper and less stressful than shipping directly to the show.
- Order Show Services: Get your forms in for electricity, internet, and anything else you need on-site. Missing these deadlines means you’ll pay a fortune in late fees.
It’s no secret the B2B trade show market is on fire, blowing past $40 billion in 2023. In fact, a whopping 92% of folks in the U.S. exhibition industry saw market growth in 2025 and feel good about the year after. All that growth means more competition on the show floor. A well-planned, high-impact trade show set up has never been more important.
One thing we do to make this final month easier is simplify our pricing. We include everything in our price except the bills the show bills you for directly, like electricity and material handling. That kind of transparency makes managing your budget a lot less of a guessing game.
If you’re still hunting for ideas, you might get some inspiration from our guide on building an exceptional exhibition stand.
Mastering Booth Assembly with Toolless LED Walls
This is where all your pre-show planning really pays off. Your crates are at the booth, forklifts are buzzing around the show floor, and it’s go-time. In the past, the physical trade show set up was a massive headache—think complex tools, confusing instructions, and eye-watering labor bills. But a modern toolless LED wall system turns what used to be a construction project into a straightforward assembly job.
Forget wrestling with heavy, clunky frames or needing to call in a specialized rigging crew just for a standard booth. The real beauty of a toolless system is just how simple it is. The core of the booth, the video walls themselves, are made from lightweight LED panels that just a couple of people can easily handle.
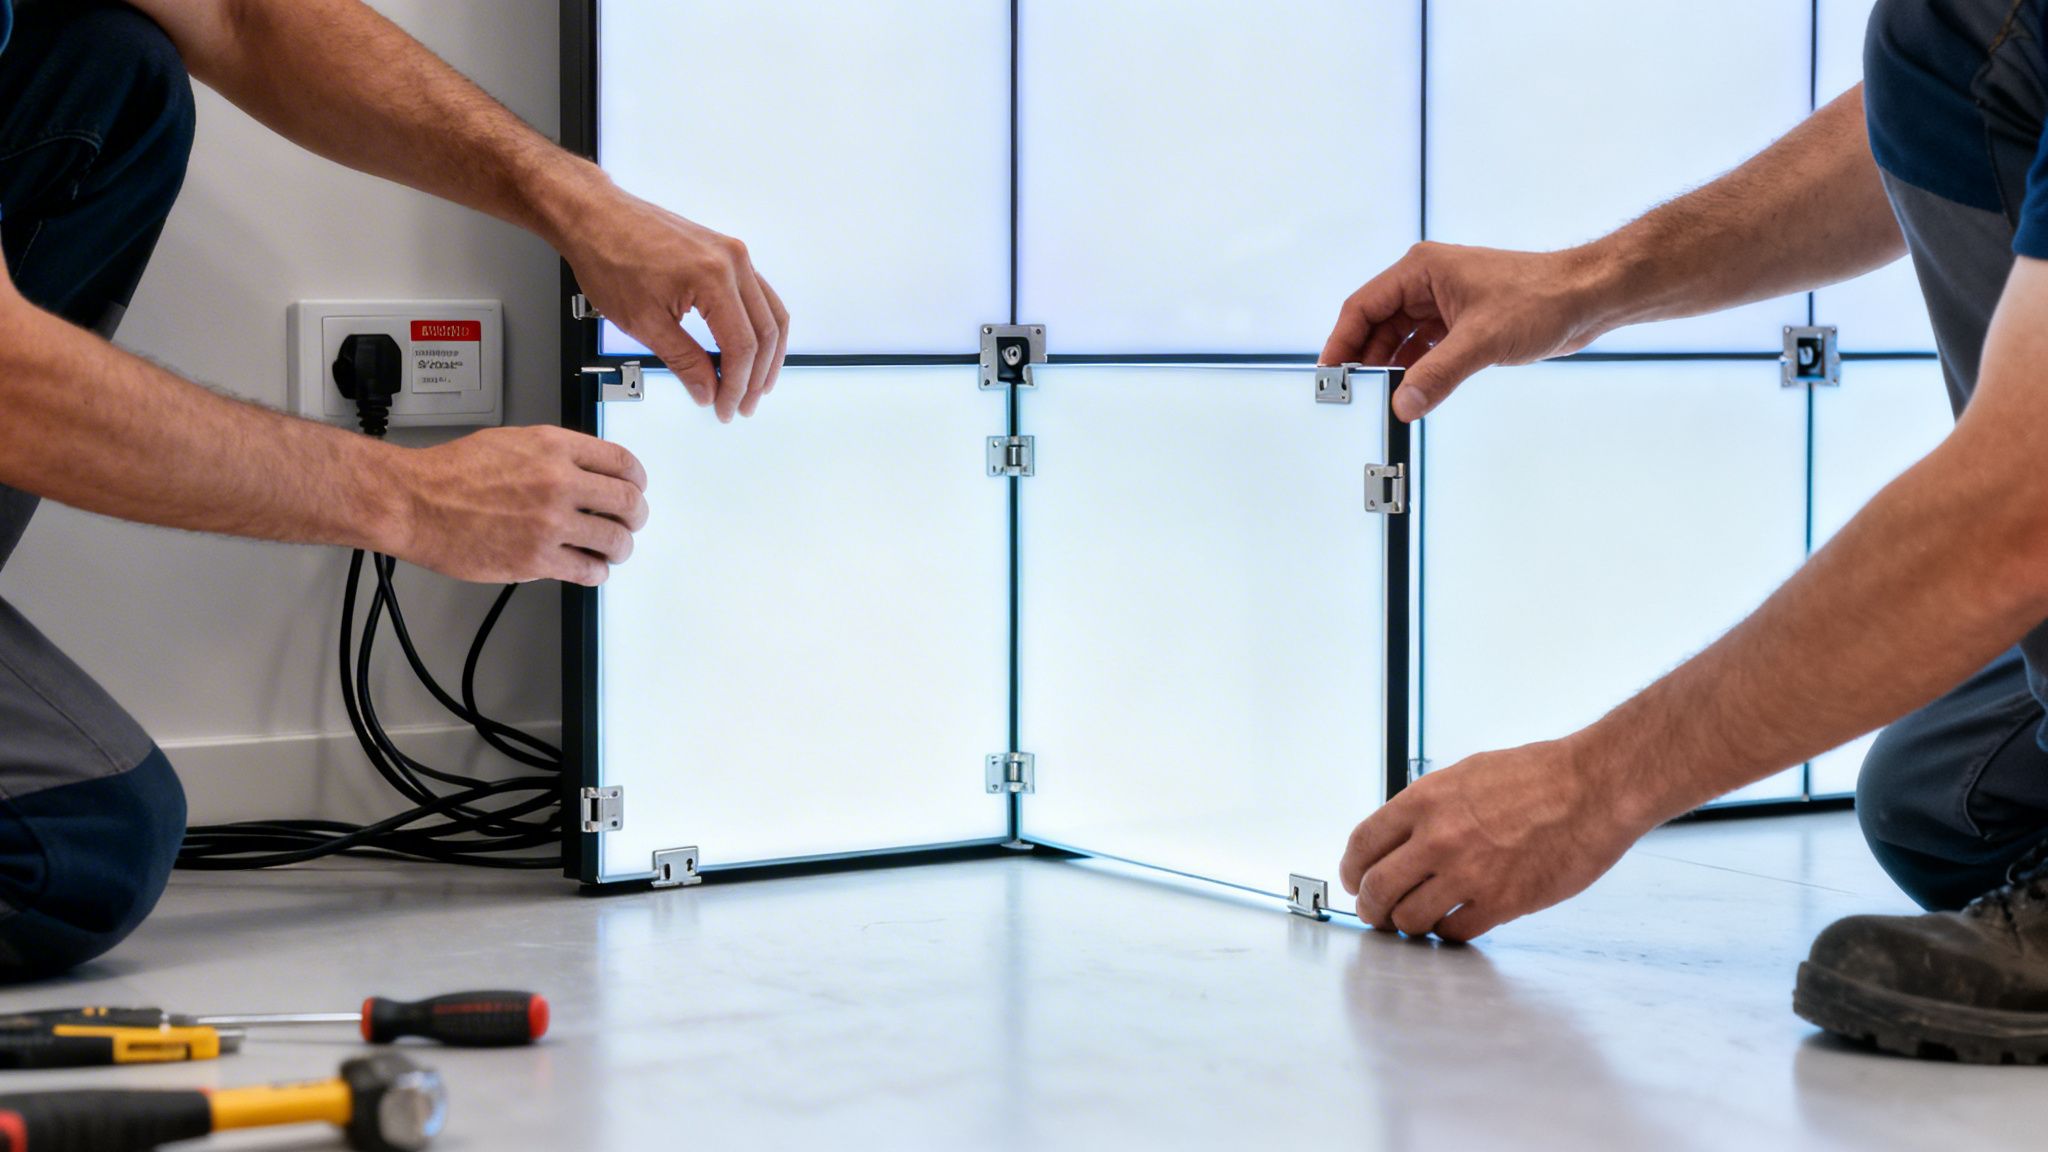
The Magic of Magnets and Locks
The assembly all comes down to two simple things: powerful magnets and hand-operated locking mechanisms. As you bring two panels close, the magnets grab hold and pull them into perfect alignment. Then, a quick turn of a few locks secures them tightly, creating a connection so flush it’s completely seamless.
You just repeat this process—panel by panel, row by row—until your wall is built. There are no screws to drop and lose, no Allen wrenches to fumble with, and no need for complex trusses in most standard setups. It’s an intuitive system that dramatically cuts down on mistakes and makes the build go way faster.
The whole point of a toolless system is to empower your own team. While you’ll still need union labor for things like electrical hookups and drayage, the booth construction is so simple your staff can often do it themselves. This can save you thousands in specialized labor costs.
That efficiency means less time building and more time prepping for what actually matters—selling. Instead of a full day of stressful construction, you can get a standard 10×10 or 10×20 LED booth put together in just a few hours.
Your On-Site Assembly Game Plan
Even with a simple system, you still need a game plan to make sure your trade show set up is completely stress-free. Once your crates arrive, here are a few real-world tips to follow.
- Confirm Your Power Drop: Before you even think about unboxing a panel, find your electrical drop. Make sure it’s where you specified on your floor plan. The last thing you want is to build the whole booth and realize your power is on the completely wrong side.
- Lay Out Your Base: Start by laying the first row of panels on the floor. This sets your footprint and guarantees everything is perfectly aligned before you start building up.
- Build, Connect, and Test as You Go: As you finish a section of the wall, plug in the data and power cables for those panels. Trust me, it’s much easier than trying to reach behind a fully assembled wall later.
- Run a Full Content Check: Once the wall is built and powered up, run through all of your video content. Look for any dead pixels or connection glitches. It’s a lot easier to swap a panel during setup than in the middle of the show.
This methodical approach prevents nasty surprises and makes sure your booth is ready for action long before the doors open. If you want to dive deeper into the nuts and bolts, checking out different options for an LED video wall rental can give you a lot more insight into the tech and the process.
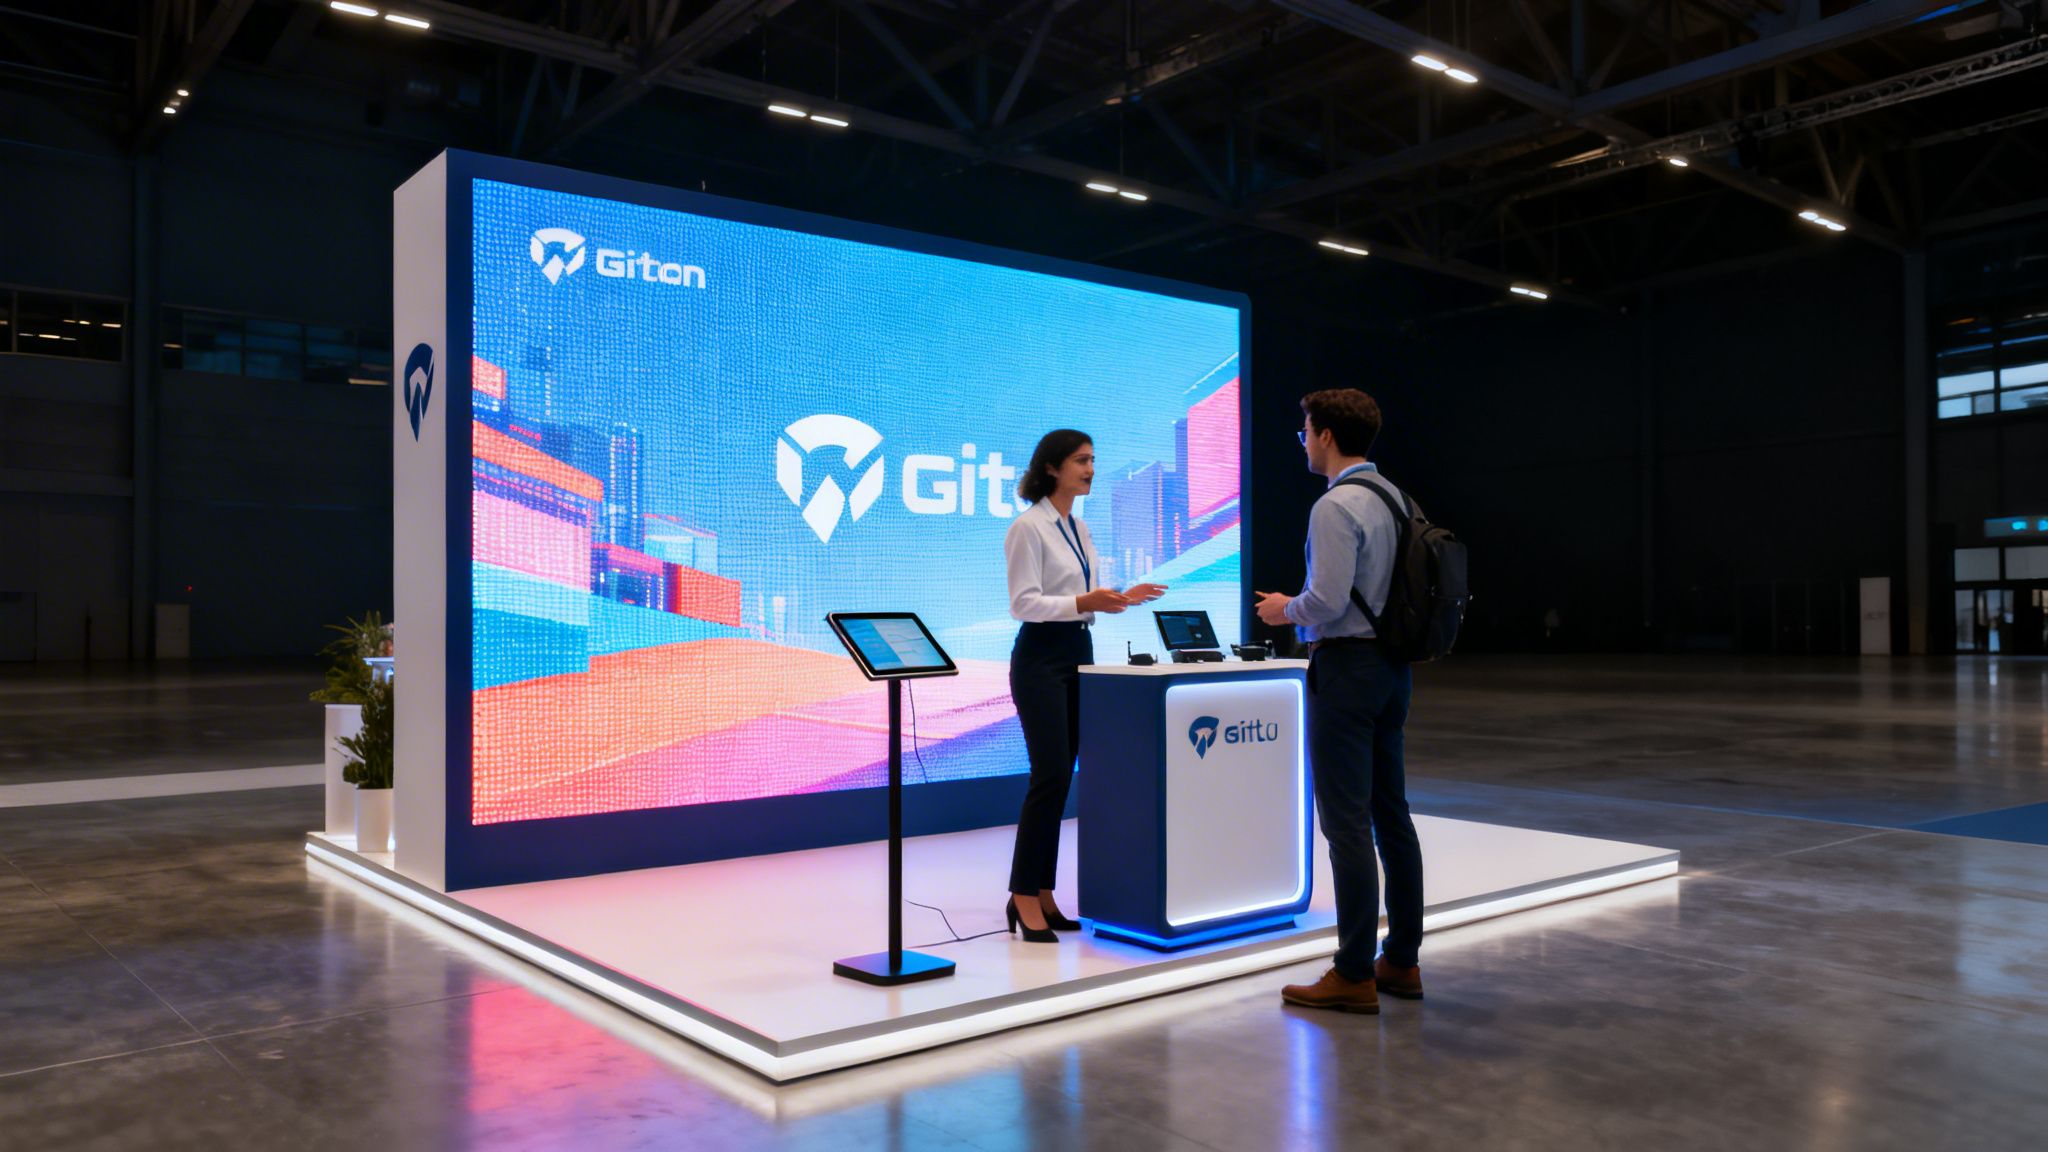
The Visual Payoff and Budget Clarity
All that quick assembly work leads to one thing: a stunning, high-impact visual canvas. Because the design is seamless, your content flows without any breaks across the entire wall, creating an immersive experience that static graphics just can’t touch.
This is where our focus on quality really shows. Many competitors use walls with a 2.5mm pixel pitch, which can look grainy up close. We insist on a 1.9mm pixel pitch. That smaller gap between pixels creates a much higher-resolution image, ensuring your videos look sharp and professional—even for attendees standing right next to the wall. It’s a premium detail that makes your brand look its best.
This commitment extends to our pricing, too. We believe in being completely transparent. In fact, we include everything in our price except the bills the show bills you for directly, like your electricity and material handling (drayage). This all-inclusive approach means you can budget with confidence, knowing there won’t be any unpleasant surprises on the final invoice.
Running Your Booth for Maximum Impact
The booth is built, your LED walls are lit up, and the show doors are about to swing open. The heavy lifting of the trade show set up is done. Now, the real work begins—making sure your team uses this incredible space to its full potential. A beautiful booth gets people to stop, but it’s how your team engages them that turns foot traffic into qualified leads.
That dynamic video wall isn’t just a pretty background; it’s the most powerful tool in your booth. Your staff needs to be trained to use it, not just stand in front of it. They should know the content schedule inside and out, what visuals tie into which talking points, and how to use the screen to literally show a prospect what they’re talking about. This turns a static pitch into a dynamic, guided conversation.
Activating Your Space and Managing Flow
An immersive LED booth is a magnet for attendees, but you need a plan to handle the crowd. The goal isn’t just to get people to stare from the aisle, but to draw them in and start a conversation. Your layout is key here—it needs a clear entry point and an intuitive path for people to follow once they’re inside.
Think about the journey. Where will people have quick chats, and where can they sit down for a real demo? Your video content can act as a traffic cop. For instance, a looping animation on a corner screen can be the hook that grabs their attention, while the main wall directs them deeper into the booth for the good stuff.
Our all-inclusive pricing model is designed so you can focus on exactly these kinds of run-of-show strategies. Since we include everything in our price except for direct show bills, you can plan your day without getting blindsided by surprise booth costs.
This lets you put your resources where they count: creating a killer attendee experience. Your booth is your stage, and your team are the stars.
On-Site Troubleshooting and Extending Your Reach
Look, modern LED systems are workhorses, but with any tech, hiccups can happen. Giving your team a basic troubleshooting checklist is one of the smartest things you can do. It’s all about peace of mind.
Quick On-Site Fixes:
- Check the Cables: Honestly, the most common culprit is a data or power cable that got wiggled loose behind a panel. A quick check and firmly re-seating the cable fixes it 9 times out of 10.
- Reboot Everything: Just like your laptop, a simple restart of the media player can solve a host of minor software glitches or content freezes.
- Is it On? Make sure the laptop or media player sending the signal is actually on and hasn’t gone into sleep mode. It happens more than you’d think.
Knowing these simple steps prevents a minor issue from turning into a full-blown panic on the show floor. Better yet, don’t let your booth’s impact stay within the convention center. That stunning video wall is a professional-grade broadcast set. Use it! Host a livestream on social media or run virtual demos for clients who couldn’t make the trip. Suddenly, your reach extends far beyond the show floor.
Capturing High-Intent Leads
Today’s trade show attendee isn’t just wandering around collecting free pens. They’re on a mission. The data is clear: 46% of attendees are in the final stages of their buying decision, and they are 72% more likely to buy from an exhibitor they’ve met in person. You can dig into more of these trade show stats and trends to see why face-to-face is still king.
This is where your video wall becomes your secret weapon for closing deals. Our screens feature a high-resolution 1.9mm pixel pitch—a huge upgrade from the 2.5mm standard you’ll see from competitors. That superior clarity makes your products and branding look incredibly sharp, which reinforces the quality these serious buyers are looking for. Pair this with your lead capture app, and you can scan a badge and know exactly which product video a prospect was just watching. That lets your team jump into a hyper-relevant conversation right on the spot.
Efficient Teardown and Measuring Your Event ROI
When the last attendee has gone home and the show floor lights flicker on, you might think your work is finished. But a quick, efficient teardown and a smart post-show analysis are just as important as your initial trade show set up. This is where you protect your gear for the next show and, more importantly, figure out if it was all worth it.
The toolless design that made your setup so smooth is your best friend during teardown. You’ll see other exhibitors frantically looking for union labor to help with a complicated disassembly, but your team can pack up methodically and quickly. That chaotic move-out rush is exactly where labor costs can get out of control, so a fast, simple dismantle saves you real money.
The Teardown Checklist for Protecting Your Assets
Your LED panels are a serious investment, and packing them up the right way is non-negotiable. If you rush this part, you’re asking for damaged pixels or broken connection points, which means expensive repairs before your next event. You need to treat the teardown with the same focus as the setup.
A step-by-step process prevents damage and makes your next assembly even easier. Here’s a quick checklist we always follow:
- Document Before You Disconnect: Snap a quick photo of the back of the wall to see how all the cables are connected. Trust me, this “wiring map” is a lifesaver for the next setup.
- Power Down Completely: Before you touch a single cable, shut the entire system down from the main power source.
- Disconnect and Bundle Cables: Carefully unplug all the data and power jumper cables. We always bundle them by type and length and put them right back into their designated slots in the flight case.
- Dismantle Top-Down: Just work in reverse. Remove panels row by row, starting from the top. It works best to have one person unlock the panel while another supports it and lifts it away.
- Pack Panels Securely: Each panel goes immediately into its custom-fit flight case. Make sure they are snug and protected. Now they’re ready for transport.
This organized approach does more than just protect your equipment. It gets you off the show floor faster, which can cut down on those annoying wait time charges from the venue.
Beyond the Booth: Tearing Down to the Numbers
Now for the part that really matters: connecting the money you spent on the booth to your business goals. A beautiful booth is one thing, but it has to deliver a return on your investment. Measuring your event’s ROI isn’t optional.
Don’t just count the number of badges you scanned. A true ROI analysis looks at the quality of those leads and their journey to becoming customers. It’s about measuring impact, not just activity.
First, you need to calculate your total investment. This means adding up the booth rental, shipping, drayage, electricity, staff travel, and even salaries. Our pricing model makes this part a lot easier, as we include everything in our price except the bills the show bills you for directly. That means fewer surprise costs to hunt down when you’re putting together your expense report.
Key Metrics to Measure Your Trade Show Success
Once you have your total cost, you can start looking at the return. You want to focus on real numbers that tie directly to revenue and brand awareness.
| Metric | How to Measure It | Why It Matters |
|---|---|---|
| Cost Per Lead (CPL) | Total Event Cost / Number of Qualified Leads | This tells you exactly how much you paid to acquire each potential customer at the show. |
| Lead-to-Customer Conversion Rate | (Number of New Customers from Event / Number of Qualified Leads) x 100 | This is the ultimate measure of lead quality and how effective your sales team was. |
| Social Media Engagement | Track mentions, hashtags, and shares related to your booth. | A stunning booth, like one with a 1.9mm pixel pitch video wall, naturally becomes a photo backdrop for attendees, spreading your brand all over social media for free. |
| Sales Pipeline Influence | Tag leads from the show in your CRM and track their progress through the sales funnel. | This shows how the event helped your overall sales pipeline, even for deals that might not close for months. |
By digging into these numbers, you can prove the value of your trade show program and make smarter, data-backed decisions for your next event. You can learn more about how to boost your trade show ROI with an LED booth in our detailed guide.
Frequently Asked Questions About Trade Show Set Up
No matter how well you plan, questions always pop up on the show floor. It’s just part of the game, especially if this is your first time using a full LED video wall booth. Let’s tackle some of the most common questions we hear from exhibitors so you can head to the show feeling ready for anything.
What Is Pixel Pitch and Why Does a 1.9mm Pitch Matter?
You’ll hear the term “pixel pitch” thrown around a lot. It’s simply the distance in millimeters from the center of one tiny LED light to the center of the next. A smaller number means the lights are packed closer together, which gives you a much sharper, higher-resolution picture.
Many rental companies out there are still offering walls with a 2.5mm pitch. From a distance, they look okay. But up close, where your prospects will be standing, the image can get blocky and pixelated. That’s why we insist on a 1.9mm pixel pitch for our rentals. This ensures your videos and graphics stay perfectly crisp, even if someone is standing just a couple of feet from the screen.
Think of it this way: a 1.9mm pitch is like watching in high definition, while a 2.5mm pitch is closer to standard definition. When you’re trying to project quality and precision, that higher resolution makes a huge difference in how people perceive your brand on the show floor.
How Much Time Should I Budget for Assembling an LED Booth?
This is one of the best parts. A traditional custom-built booth can easily eat up a full day or more, requiring a large and expensive labor crew. The speed of a modern, toolless LED system is a total game-changer.
Our magnetic, snap-together panels mean you don’t need any special tools or complex rigging. For a 10×10 or 10×20 booth, two people can typically have the entire thing assembled in just a few hours.
We always suggest budgeting about half a day just to be safe. That gives you a comfortable cushion to get it built, test all your content, and add any final touches without the stress—or the shocking labor bills—that come with older booth styles. You’ll be off the show floor faster, letting your team focus on preparing for the actual event.
What’s Included in Your Price and What Are the Hidden Costs?
Budget surprises are probably the biggest headache in the trade show world. We specifically designed our pricing to eliminate them. Our rental price is all-inclusive, which means it covers the complete LED wall system, all the hardware, and even shipping to the advance warehouse.
The only costs you’ll see that aren’t on our invoice are the ones billed directly by the official show decorator. These are things we have no control over:
- Electricity: The power drop to your booth space.
- Internet: A hardwired connection if you need one.
- Material Handling (Drayage): The fee the show charges to move your crates from the loading dock to your booth space and back.
We even help you keep those drayage fees as low as possible by engineering a lightweight system that packs down into compact crates. Our goal is simple, straightforward pricing so you can build your budget with confidence.
Ready to stand out at your next event with a high-impact, easy-to-assemble display? LED Exhibit Booths provides turnkey video wall solutions that transform your space into an immersive brand experience.